-
×
 TruePlus Glucose Gel 15g
1 × $5.99
TruePlus Glucose Gel 15g
1 × $5.99
Diabetic Outlet Store, Diabetic Supplies, Glucose Monitoring, Glucose Test Strips, Glucose Testing Supplies, Penny
4 TIPS FOR APPLYING BLOOD TO PRODIGY TEST STRIPS WITHOUT SIGHT
30
Mar
Mar
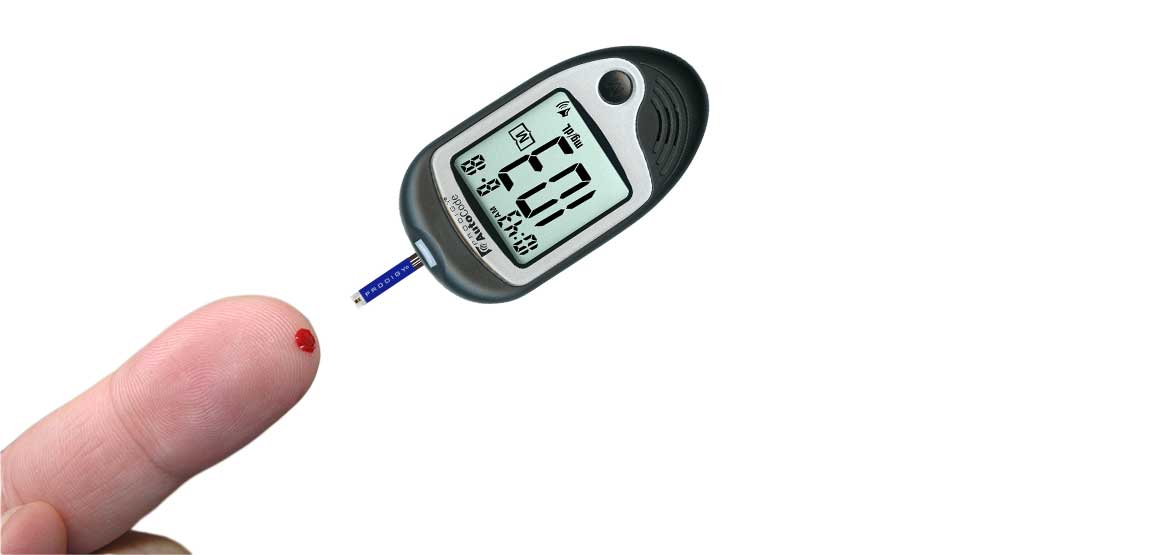
Prodigy is one of the most affordable and reliable blood glucose monitoring systems available specially in the retail market. All prodigy meters use the Prodigy test strips for the quantitative measurement of glucose (sugar) in fresh capillary whole blood samples drawn from the finger tip, forearm, palm, upper arm, calf or thigh.
Prodigy AutoCode meter is a completely non-visually accessible talking blood glucose meter equipped with a voice function that talks the user through the blood glucose testing steps and speaks in English, Spanish, French, and Arabic.
Prodigy test strips provide a measure of glucose in whole blood. The blood is drawn into the channel of the Prodigy test strips that absorbs it through capillary action. The blood glucose level is measured and displayed on your Prodigy meter. Only 0.7 μL (microliters) of blood is required and the time to get results is 7 seconds.
Applying a drop of to the prodigy test strip is a simple process. (1) Insert the test strip into the meter. (2) Apply a blood sample. (3) Read your test strips. It’s that simple!
Applying a blood sample to the test strip for users who have experienced vision loss or damage can be a bit challenging. Luckily the Prodigy AutoCode Speaking makes the whole process very simple with a series of voice commands. And to make that even simpler Prodigy provides 4 tips for applying a blood sample to Prodigy test strips for users with vision loss or impairment.
4 TIPS FOR APPLYING BLOOD TO PRODIGY TEST STRIPS WITHOUT SIGHT
DISCLAIMER! The following 4 tips are brought to you from Prodigy Auto-Code user manual for information and education purposes only. These tips do not constitute as instructions or medical advice.
Source: Prodigy AutoCode Blood Glucose Meter User Manual
Tip One—Smaller has its Advantages
Because the Prodigy AutoCode® meter is so easy to move around, you can experiment with many different approaches to determine which works best for you. Get comfortable holding the meter in one hand while testing. The meter can be moved towards your finger as easily as your finger can be moved to the test strip.
Tip Two—Aim for the Tip
The tip of the test strip contains an opening to the absorbent channel in the center where the blood should be applied. The absorbent channel draws the blood into the test strip, much like a straw, when the tip touches the blood sample. Blood should be applied only on the very tip. Blood applied to the bottom or sides of the test strip may cause inaccurate readings. It is important that the test strip does not bend at all when applying the sample.
Tip Three—Using a Sideways Approach
When testing, it may be helpful to hold the meter on one side rather than flat or face up. In this position, the test strip sticks out of one end and the side with the buttons faces towards you. The idea here is that the finger can be brought to the test strip from below until it touches the tip of the test strip. Then, the meter can be repositioned so the sample touches the absorbent opening at the end of the test strip. Notice how the meter can be positioned so that the test strip can be sticking out to the left or to the right. This allows for either hand to be used for testing.
Example
- Step 1—Gently milk the finger to bring blood to the finger.
- Step 2—Puncture the finger.
- Step 3—Hold the meter in your hand. Place your index finger under the test strip to help you guide the meter to where you have lanced.
- Step 4—Using overlapping dragging motions in an upward direction, repeat the motion around the puncture sight until you hear the meter beep then say, “testing.”
- Step 5—Hold the test strip in place until you hear the meter say your test results.
Tip Four—Practice, Practice, Practice
As with all new skills, practicing is the key to feeling comfortable performing this new skill with confidence and ease. Don’t give up; remember to practice, practice, practice. We suggest using Prodigy® control solution when practicing. Practice until, with relative ease, you can get a test result that falls within the target range for the Prodigy® control solution three (3) tests in a row. It can be helpful to have someone with sight to watch you practice in order to provide feedback or to answer any questions you may have.
Prodigy glucose testing supplies

As the top editor Penny makes sure all the other authors are kept in check. Penny is best at vocalizing her concerns, especially when it has to do with quality. When she doesn’t get her way, she can be very pushy.
She is also a major contributor to the Blog. Penny loves to connect with her readers and is very prompt with responses.
